

- Call 908 543 4390
- Email
- Dr.Joni Redlich PT,DPT

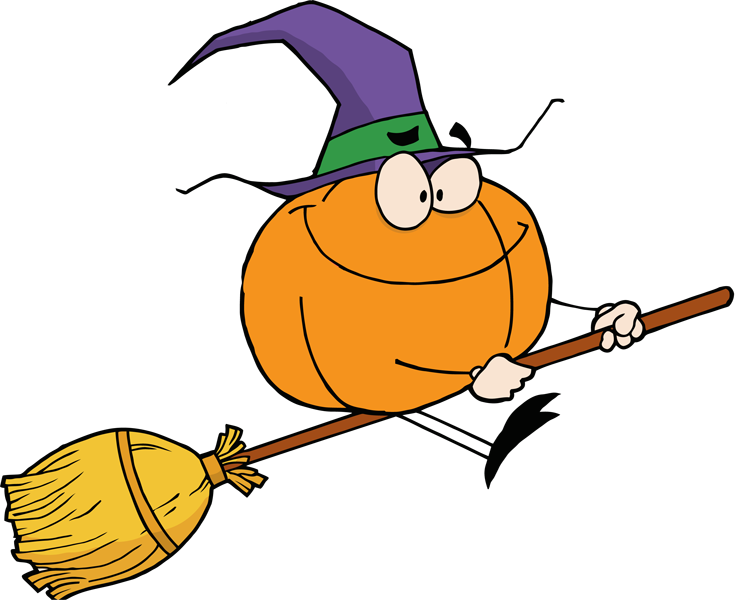
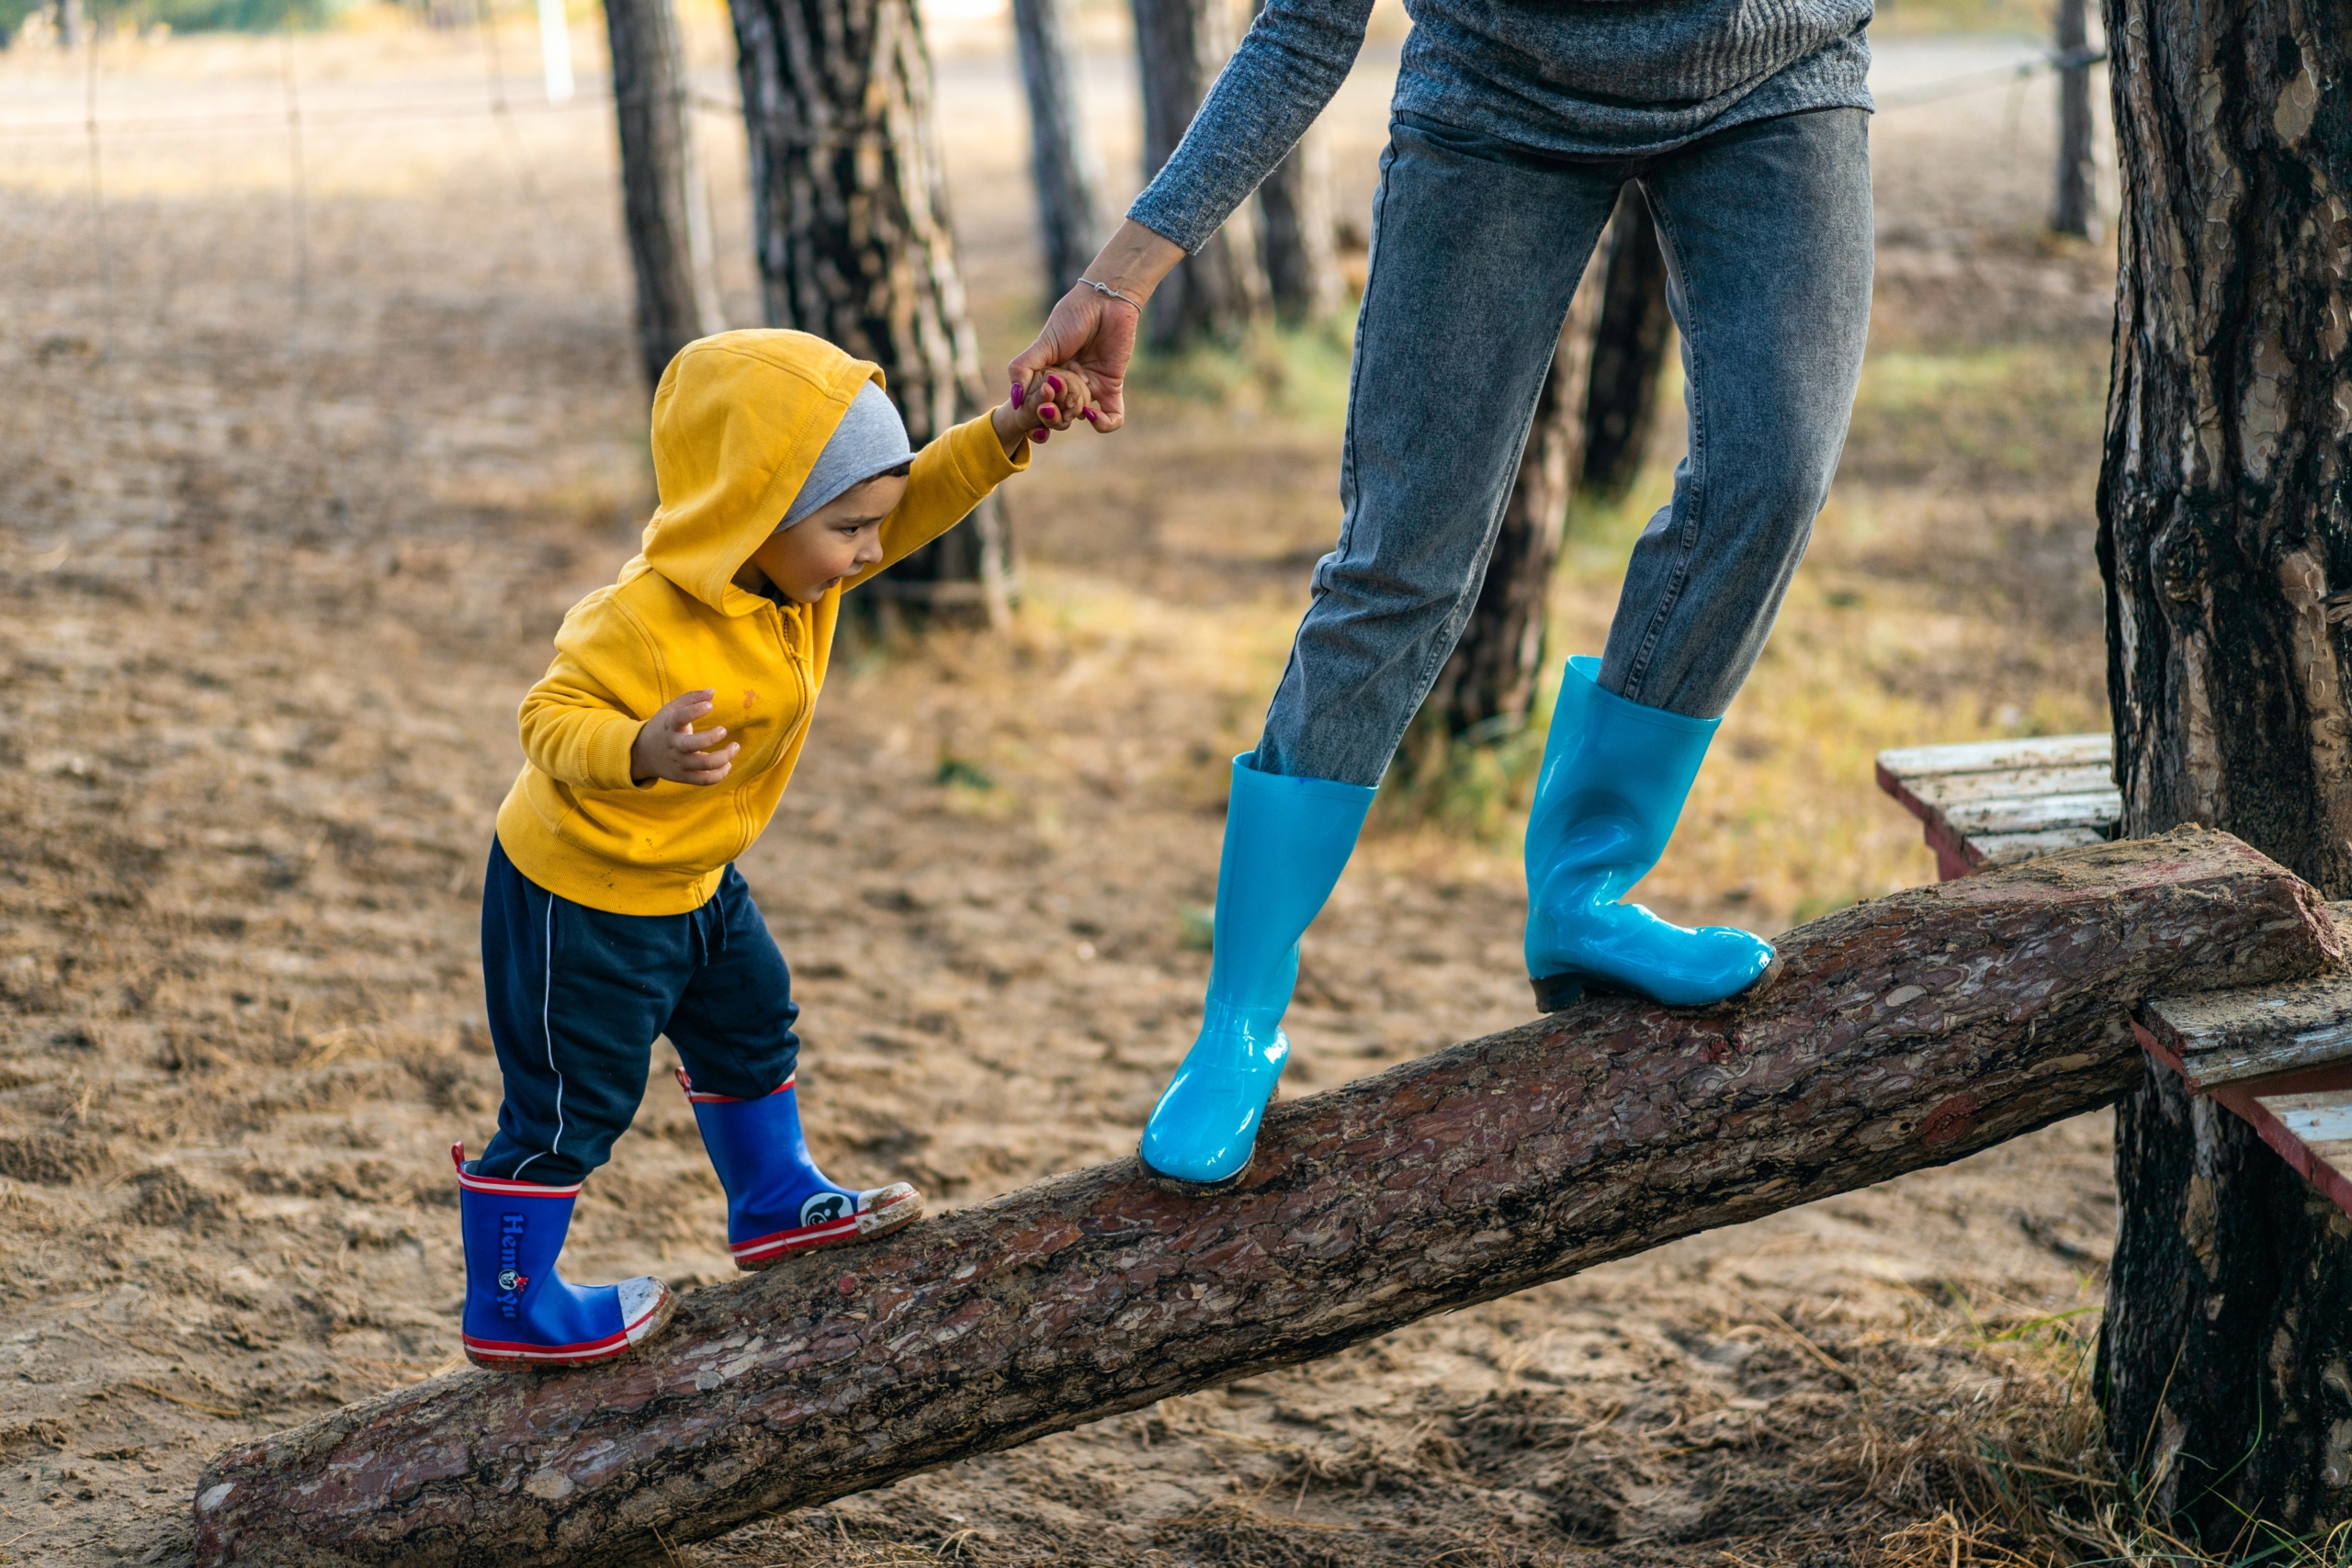
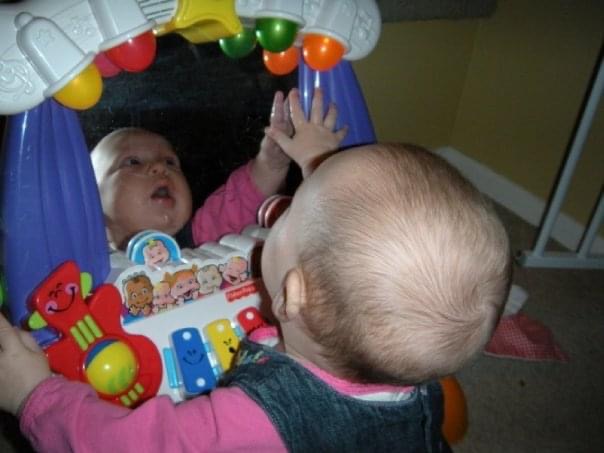
Halloween is coming! And it’s time to get in shape for the big day. Lugging all that candy around from house to house is harder work than you think! 💪
Here are five spooky, Halloween-themed 🎃 exercises you can do at home, at the park, or on your trick-or-treat haunts to get you in the SPOOKY spirit:

A simple exercise where you stand with your feet shoulder-width apart and arms out in front of you. Then twist your arms from side to side and say “BRRRRAAAIIIINNNSSS” like a zombie!
This is a great way to work on your core strength while getting into the spirit of Halloween—lie on your back and lift your arms, head, and legs off the ground. Grab a pumpkin and hold it between your hands and feet (make sure it isn’t too big or heavy). Now lower the pumpkin toward your tummy and then push it back up into the sky to make it SOAR!
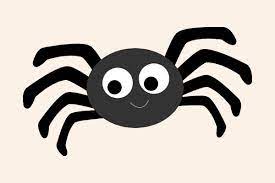
This exercise will help you strengthen all those leg muscles we use when we’re running from vampires or other spooky creatures. Start in standing with your feet hip distance apart. Then squat down as if you were trying to hide from something scary, and repeat! Make sure your arms are stretched out too so you really look like a leggy, crawly spider!

Jump up and down as if trying to scare someone into giving you candy. Don’t forget to get your monster claws out, and get creative with your jumps! If you want to be a monster that jumps on one foot, jumps while spinning, or jumps like a frog, then do it!
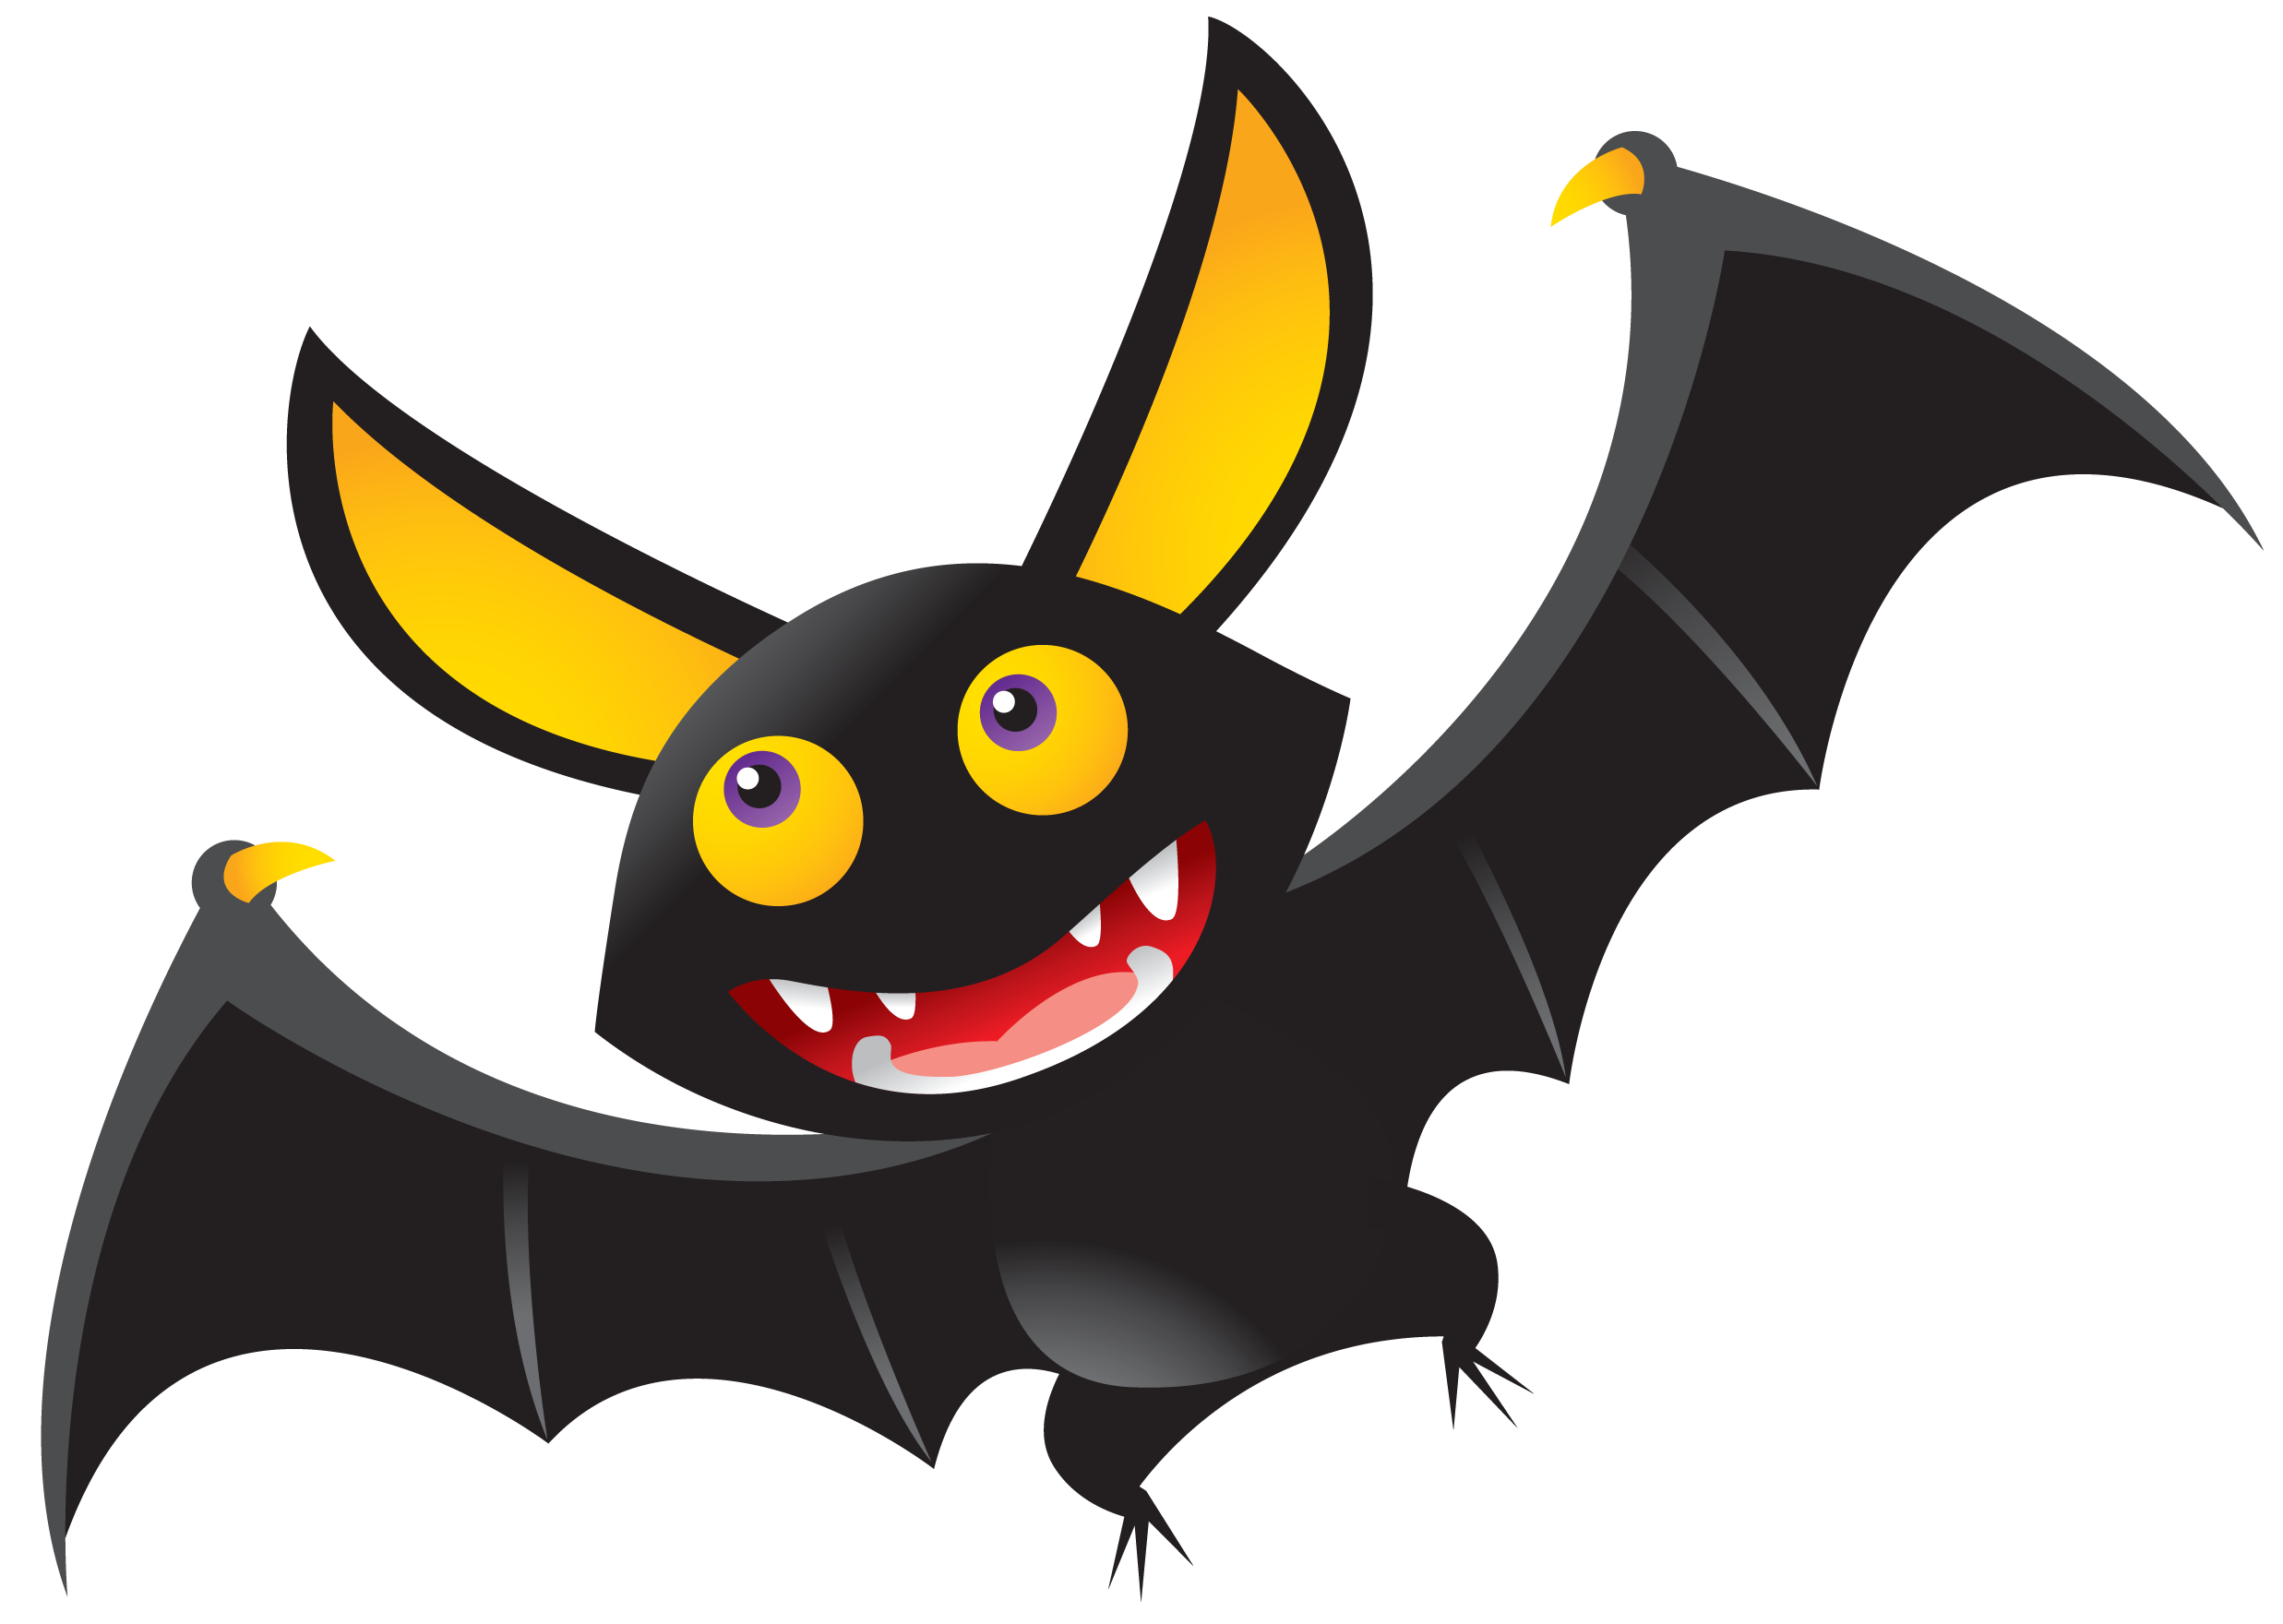
Make sure you are in a big open space for this one! First, put your arms out to the side while standing, like you have two wings. Next, dip one wing down, and one wing up in the air, so that your arms are in a diagonal. Now run 10 steps flying forward to the right side THEN 10 steps running toward the left side. You can also start screeching like a bat for some extra Halloween flare.
WOW! Now you’re looking and feeling EXTRA SPOOKY! We hope you and your family enjoyed grooving your way through these Halloweeny moves. Have a HAPPY HALLOWEEN!
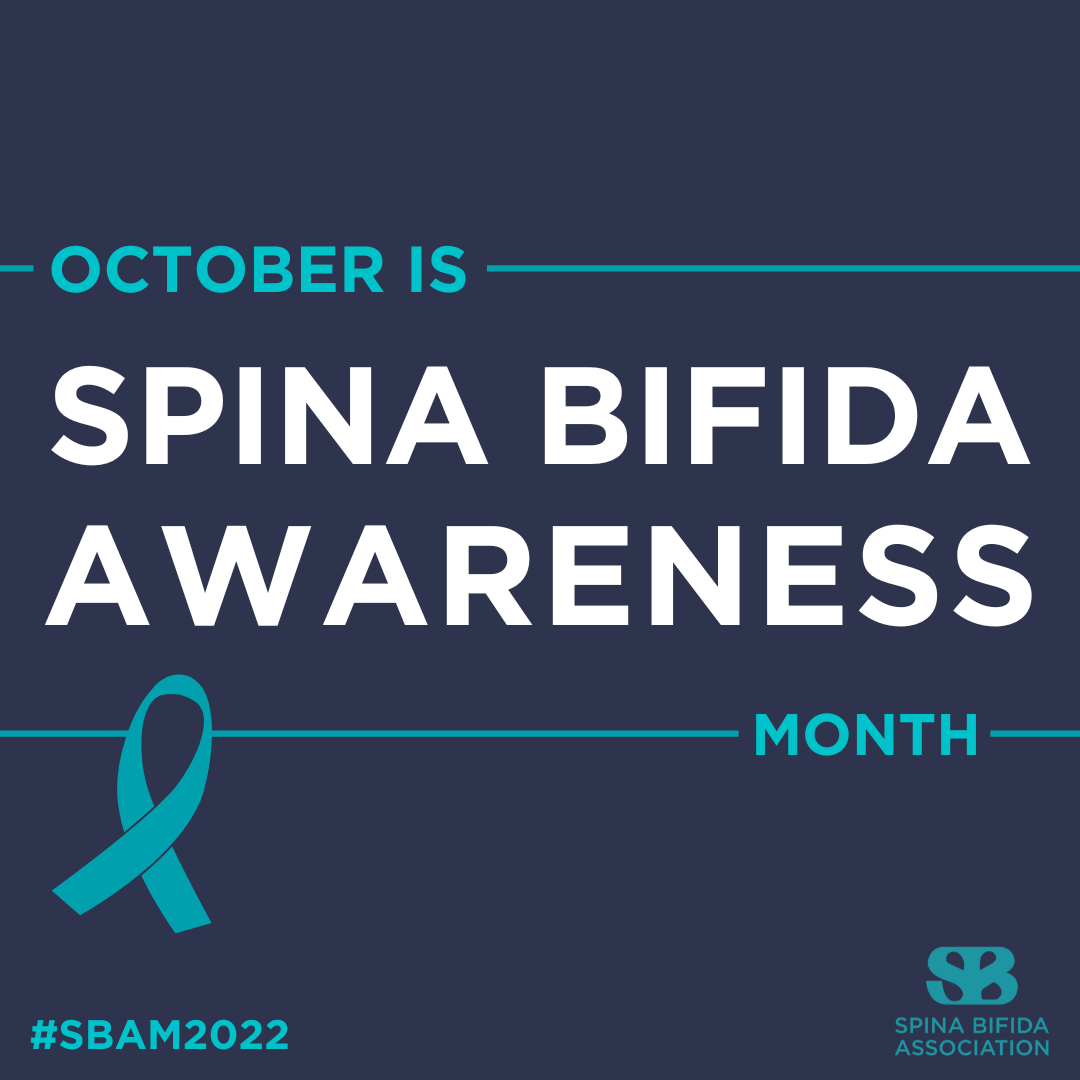
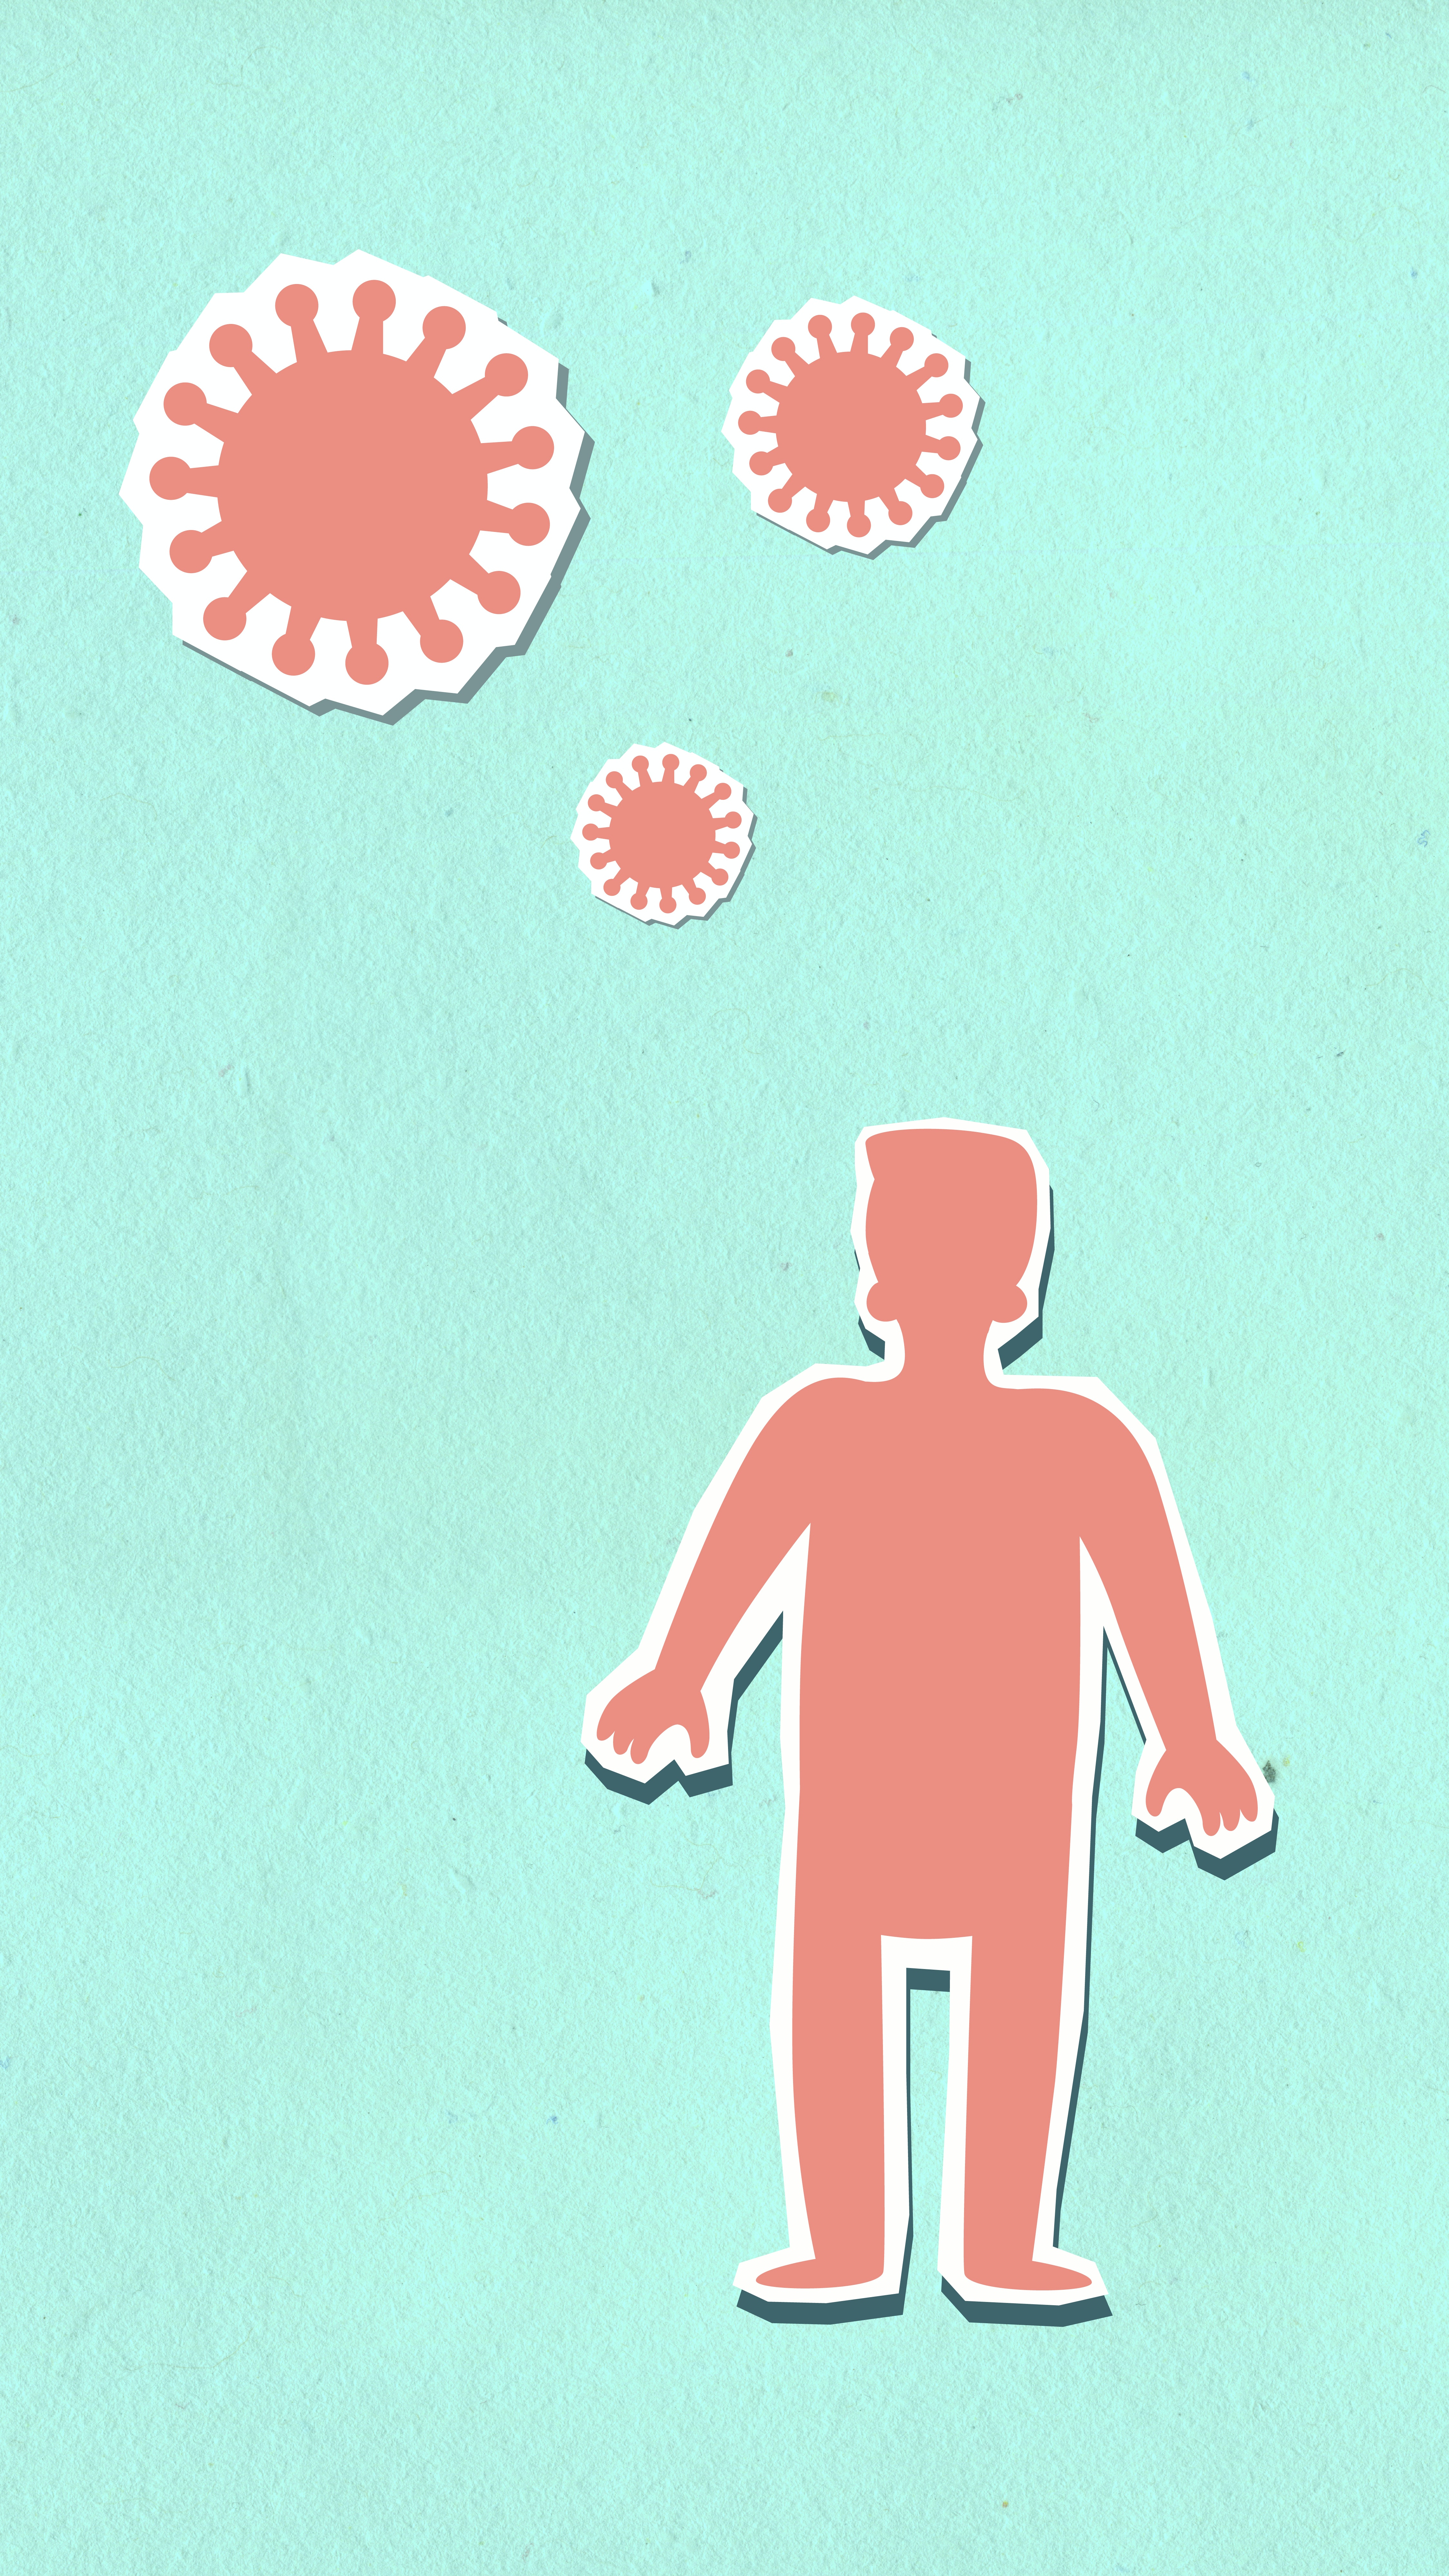
October is Spina Bifida Awareness Month and for it we wanted to share with you one of the recent advances in rehabilitation for children with spina bifida. On of our physical therapists, Dr. Kat has received training in this new approach and is now using it with our Kid PT families.
First, let’s talk Spina Bifida.
Spina bifida is a birth defect that occurs during the first month of pregnancy when the spinal column does not close properly, resulting in an open lesion on the skin. There are different types of spina bifida, but all can cause varying degrees of paralysis, loss of sensation and sometimes bladder and bowel problems. The severity depends on where the lesion is located on the spine and how much damage was caused to nerves as a result of it.
Spina bifida can be treated with surgery, even before the baby is born. These surgical repair advancements have improved outcomes for children with Spina Bifida. Physical therapy typically begins very early in life. Parents are taught stretching and positioning routines to maximize flexibility and play strategies to maximize function. Skin protection is also very important due to the lack of sensation and position sense.
Electrical stimulation has been used for many years for a variety of purposes. It is a safe non-invasive therapeutic intervention that can impact many different systems of the body, including circulation, sensation and muscle strength. Back in graduate school over 20 years ago I was involved with an research study using neuromuscular electrical stimulation for children with cerebral palsy and it showed great effectiveness.
Many people are familiar with TENS or interferential electrical stimulation from their own physical therapy experiences for pain problems. It is a similar set up doing neuromuscular electrical stimulation, functional electrical stimulation and spinal stimulation where you have two electrodes on the body and they connect to wires on the device.
Originally, Gerti Motavalli, a PT who was investigating using electrical stimulation to increase muscle activity with babies with Spina Bifida, she was focussed on direct activation of the muscles, as is more typical with the application. What she found was even more dramatic improvement doing spinal stimulation vs. only muscle specific. Babies improved their sensation and movement abilities at a much quicker pace than was typical. Her publication on the first search study can be found here. Spinal stimulation uses electrical pulses sent through wires placed around the spine into nerves in the lower back. It helps restore nerve signals that have lost their ability to travel down the body as a result of spinal cord damage or abnormalities. The exact way that spinal stimulation works is not completely understood; however it has been shown to improve sensation and motor skills at a faster rate than is typically expected. Since initiating this work, Gerti has used her protocols on children from babies to 13 year old and is now working with families from all over the world as well as teaching other physical therapists how to apply the concepts.
Since we already use electrical stimulation at Kid PT and we own multiple electrical stimulation units that are considered the gold standard for safety with children, we naturally wanted to learn how to apply these findings in the practice. Let’s talk a little bit more about the areas that spinal stimulation can impact a child with Spina Bifida.
 The spinal cord provides protective sensation—the ability to feel pain and temperature changes—to the body. This sensory information is relayed through the dorsal root ganglia (DRG) and transmitted through dorsal column pathways to the brain. In children with spina bifida, there can be significant damage to these structures, resulting in reduced protective sensation.
If you don’t feel the bottom of your foot, for example, you wouldn’t know if you’re standing on soft grass or on a thorn. That places your skin at risk for injury and limits your ability to stop an injury like that from happening over and over again.
Spinal stimulation has been shown to increase sensory awareness more rapidly than other treatment approaches used in the past. This has the potential to make a powerful impact on a child’s daily life.
 Proprioception is the ability to sense where your body parts are relative to each other and how they move in space (e.g., when you put your hand behind your back). Loss of proprioception can lead to difficulties with balance, coordination, and gait. Imagine trying to place your foot down flat on the floor if you don’t feel where your foot is. You would need to look down every time you take a step to know where to place it. Improving the sensory information moving from the body to the brain can improve a person’s proprioceptive sense.
 Circulation of the vascular and lymphatic systems are greatly impacted by movement as well as nerve innervation. If you always have cold feet life me, imagine how much colder they would be if you didn’t have the motor control to move your ankles all day long. I know mine would be icebergs! Spinal stimulation has the potential to improve circulation by increasing nerve conduction to the vascular system.
 Spinal stimulation has the potential to increase muscle activity, which can improve endurance of postural muscles, symmetry between limbs, and promote improved alignment of the body. Stimulating the nerves that cause the muscles to contract can improve motor control, strength and endurance of the body. Improving symmetry of the body, including the hips and the trunk, can decrease the risk of scoliosis and hip joint issues, as well as support improved functional mobility.
To see many video samples of how spinal stimulation is done and to watch videos of changes over time of children of different ages, check out Gerti’s Facebook or Instagram pages. To learn more about Electrical Stimulation and how it can help your child reach out to us for a phone consult or to schedule a free screening.
Reach out to as at info@kidpt.com or call/text 908-543-4390.
Science keeps growing, we all keep learning, and the future is bright!

“My baby won’t move out of sitting! She just wants to sit and play and gets mad if we lie her down to play!”
It’s an exciting moment when your baby starts sitting all by themselves. At some point between 5-8 months babies developing typically will gain the postural control to sit hands free and play with toys.
It’s a huge milestone and a big one to celebrate!
Here’s a photo of the first time my daughter, Rebekah, sat by herself. She sat just long enough for me to snap a quick pic!
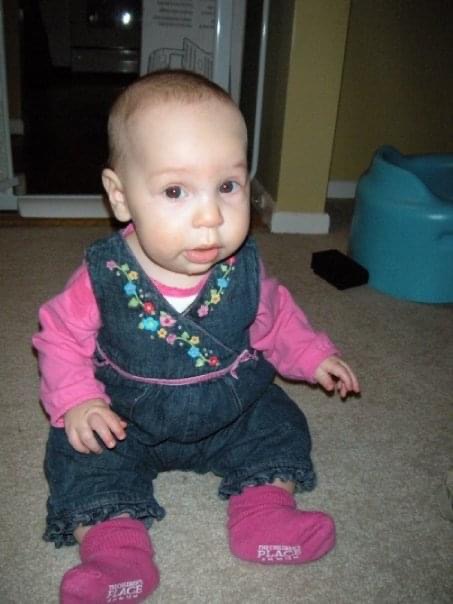
You can see how tentative she looks here!
Rebekah is using her hands to help her balance here.
She’s not quite ready to sit and play with toys with both hands, watch the dog running back and forth, or reach for something.
Perhaps a big giggle would knock her over at this point!
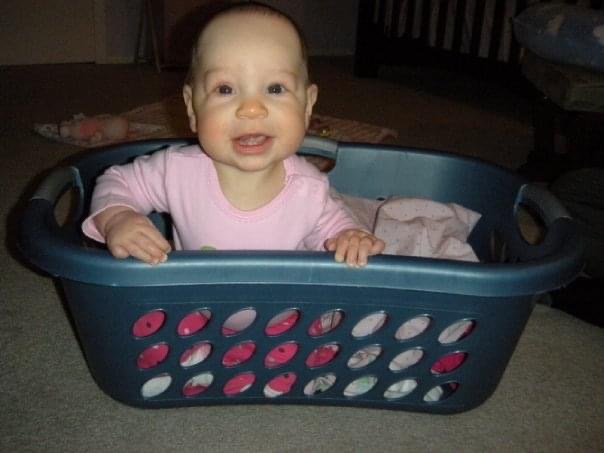
This is a great time to play in sitting with a little support, such as in a laundry basket or a box.
The more filled the basket, the easier it will be to balance. For more challenge, try wiggling the laundry basket or give your baby a ride moving the basket back and forth.
You can also use large toys where your baby can use one hand to balance and the other to like this one.
Many of the push toys have a side to play on- park it against a wall of the couch so it won’t move and your baby can sit and play with it.
A big toy that fits in between your babies legs in ring sit so they balance with their hands on the toy, rather than hands on the floor can help sitting balance get better and better.
When babies become more experienced sitters, they can look in all directions without it impacting their balance, they can play with toys with both hands and they can reach in all directions.
This is when you’ll see your baby experimenting with banging toys together and using both hands to manipulate their toys.
Once we’ve mastered the sitting milestone, now what?
In sitting, we want to see your baby shift their weight forward and back, left and right, while they’re playing in sitting.
They will learn this naturally during play.
While they’re shifting their weight to each side to get the things they want, your baby will learn to move from a ring sit position like above to other positions, such as ring sit to side sit.
Babies will also move from sitting down to their bellies too.
Here are some examples of playing in sitting that leads to next steps and moving in and out of sitting:
This give babies the opportunities to practice moving between positions from sitting to belly and from sitting to hands and knees.
All of this movement out of sitting creates separation from the babies’ lower legs, hips, and core, building flexibility and postural control.
This is getting the baby ready for all of the milestones that come next!
The stage is being set for crawling and walking!
What are happy sitters?
Happy sitters are babies who achieve the exciting sitting milestone that we’re chatting about, but then they bask in the glory of sitting and don’t keep moving along in the developmental process.
Our therapists at Kid PT see this all the time.
These babies figure out how to communicate to their parents to place them in sitting. These babies will pull toys towards them using a blanket and will have siblings bring them the things they want. They are so smart and problem ways to keep things in their comfort zone!
We call these babies “happy sitters” because they’re happy sitting there, but aren’t happy exploring other ways to move.
Although learning to sit by themselves is fantastic, it should happen alongside:
If your baby is sitting all by themselves, but they aren’t doing the other movements listed above, your baby may be a happy sitter.
What happens if you don’t intervene?
The longer you wait, the harder it is to promote more movement.
Variety of movement is one of the big keys in motor development.
If you are worried that your baby may be a happy sitter, come in for a free screening with one of our physical therapists and we can give you tips to get your baby out of this phase and onto moving and exploring their world!
Here are 6 of our top focus strategies!
We’re well into October now and for some children the honeymoon period of the new school year is over and the reality of the demands day in and day out are settling in. For some children, they are cruising along, but many of our families at Kid PT are telling us that their kids are starting to struggle.
Our therapists at Kid PT are here for you and we wanted to bring you some strategies to try at home. If these strategies are not enough and you can’t figure out the right solution for you child, reach out to us and we can give you the individual help that you need.
Here are our therapist’s top 6 strategies to help your children focus in the classroom. Try one or combine a few to find the best match for your child. Additionally, a strategy may work for a while and then you’ll need to mix it up with another one. So even if you find a good fit strategy, keep the list handy to try another one out in the future!
A fidget toy is a small item that you can play with to help you concentrate or relax. It often looks like a stress ball, but it doesn’t have to be. Fidget toys can be things like rubber bands, coins, or other small objects. We have had children at the office complain of fidgets making them look different than other kids- in cases where the child is concerned about how the item looks, try to find an everyday object like one listed above that can serve the purpose.
There are many different types of fidget toys. Some are specifically designed for people with ADHD (like the Spinner Cube), while others can be used by anyone who needs an easy way to focus or become more mindful.
Some fidgets can be noisy, which doesn’t work well in the classroom setting so check out this list of silent fidgets to help you find a good solution for your child.
Many of our kids at Kid PT have had success using a seat cushion, yoga wedge, or Dyna Disc on a chair. Some kids have a hard time staying still because their brains are too active for sitting still for long periods of time (which can also explain why some kids bounce around so much). If this is your child’s issue, try placing a seat cushion or dyna disc on their chair at school so that they feel more comfortable sitting still for longer periods of time.
Other children have trouble keeping an upright posture all day long due to low tone, hypermobility, or core weakness. These children could potentially get more fatigued using a dynamic cushion all day, but may do well with a yoga wedge on their chair to support a more upright posture with less of the effort to get there.
Did you know that deep pressure can be a grounding and calming feeling?
We can use that to help children focus!
Two ways that we can give children deep pressure
A weighted vest or compression vest is an effective, noninvasive way to improve attention and focus. Weighted vests are usually made of nylon or cotton and contain small weights that are distributed throughout the vest to create a light sensation against the body. The person wearing the vest feels like they’re carrying a backpack full of books. These vests are often used as a treatment for children with autism, as well as other disorders such as ADHD/ADD.
Compression vests work similarly, and the deep pressure feeling is felt by the child every wiggle and move they make.
Many of our kids at Kid PT have told us that their classroom can be really loud!
Headphones that cover your child’s ears can be a multisensory approach to help your child focus in a classroom. Not only do these headphones help tune out access noise in your child’s environment but the soft cushions along the heads can provide deep reassuring pressure to your child’s head which can allow for improved self-regulation and attention.
Remember what we said above about deep pressure- headphones are another way to give deep pressure while blocking out noise at the same time.
Snack time can be more that just a time for our kids to fill their bellies. Sensory input includes all the senses of your body, including taste. Also, to swing back to that deep pressure concept again, we can even get that through the jaw. Crunchy, chewy, and sour are the most regulating and alerting forms of oral input. Providing a crunchy snack such as cheese crackers or chewy foods such a dried mango can provide regulating oral input before heading into the school day. Sour foods such as lemons can help increase alertness and arousal in children who may seem disengaged or low energy.
As adults, we give ourselves sensory breaks throughout the work day. We get up for a cup of coffee (read stand up and walk, chat with a colleague, and then drinking caffeine), we may grab a piece of gum or a mint (altering! deep pressure to the jaw!).
Just like adults need breaks between work periods, so do children. Kids need breaks much more frequently than adults do, often to move their bodies and get outside. Breaking up large tasks into smaller parts with breaks in the middle can be a great way to keep kids on task.
Our Kid PT therapists hope that these strategies will give you a starting point to help your children develop the confidence and skills to succeed at school. If these strategies aren’t enough for you and your child, reach out to us. Let’s dig deeper together, identify the source of the problem, and find solutions that will work for your child.